Custom LED Strip
Customizable LED strip system using WS2815 LEDs and an ESP32-based PCB shield with WLED. HomeAssistant integration and IR remote support.
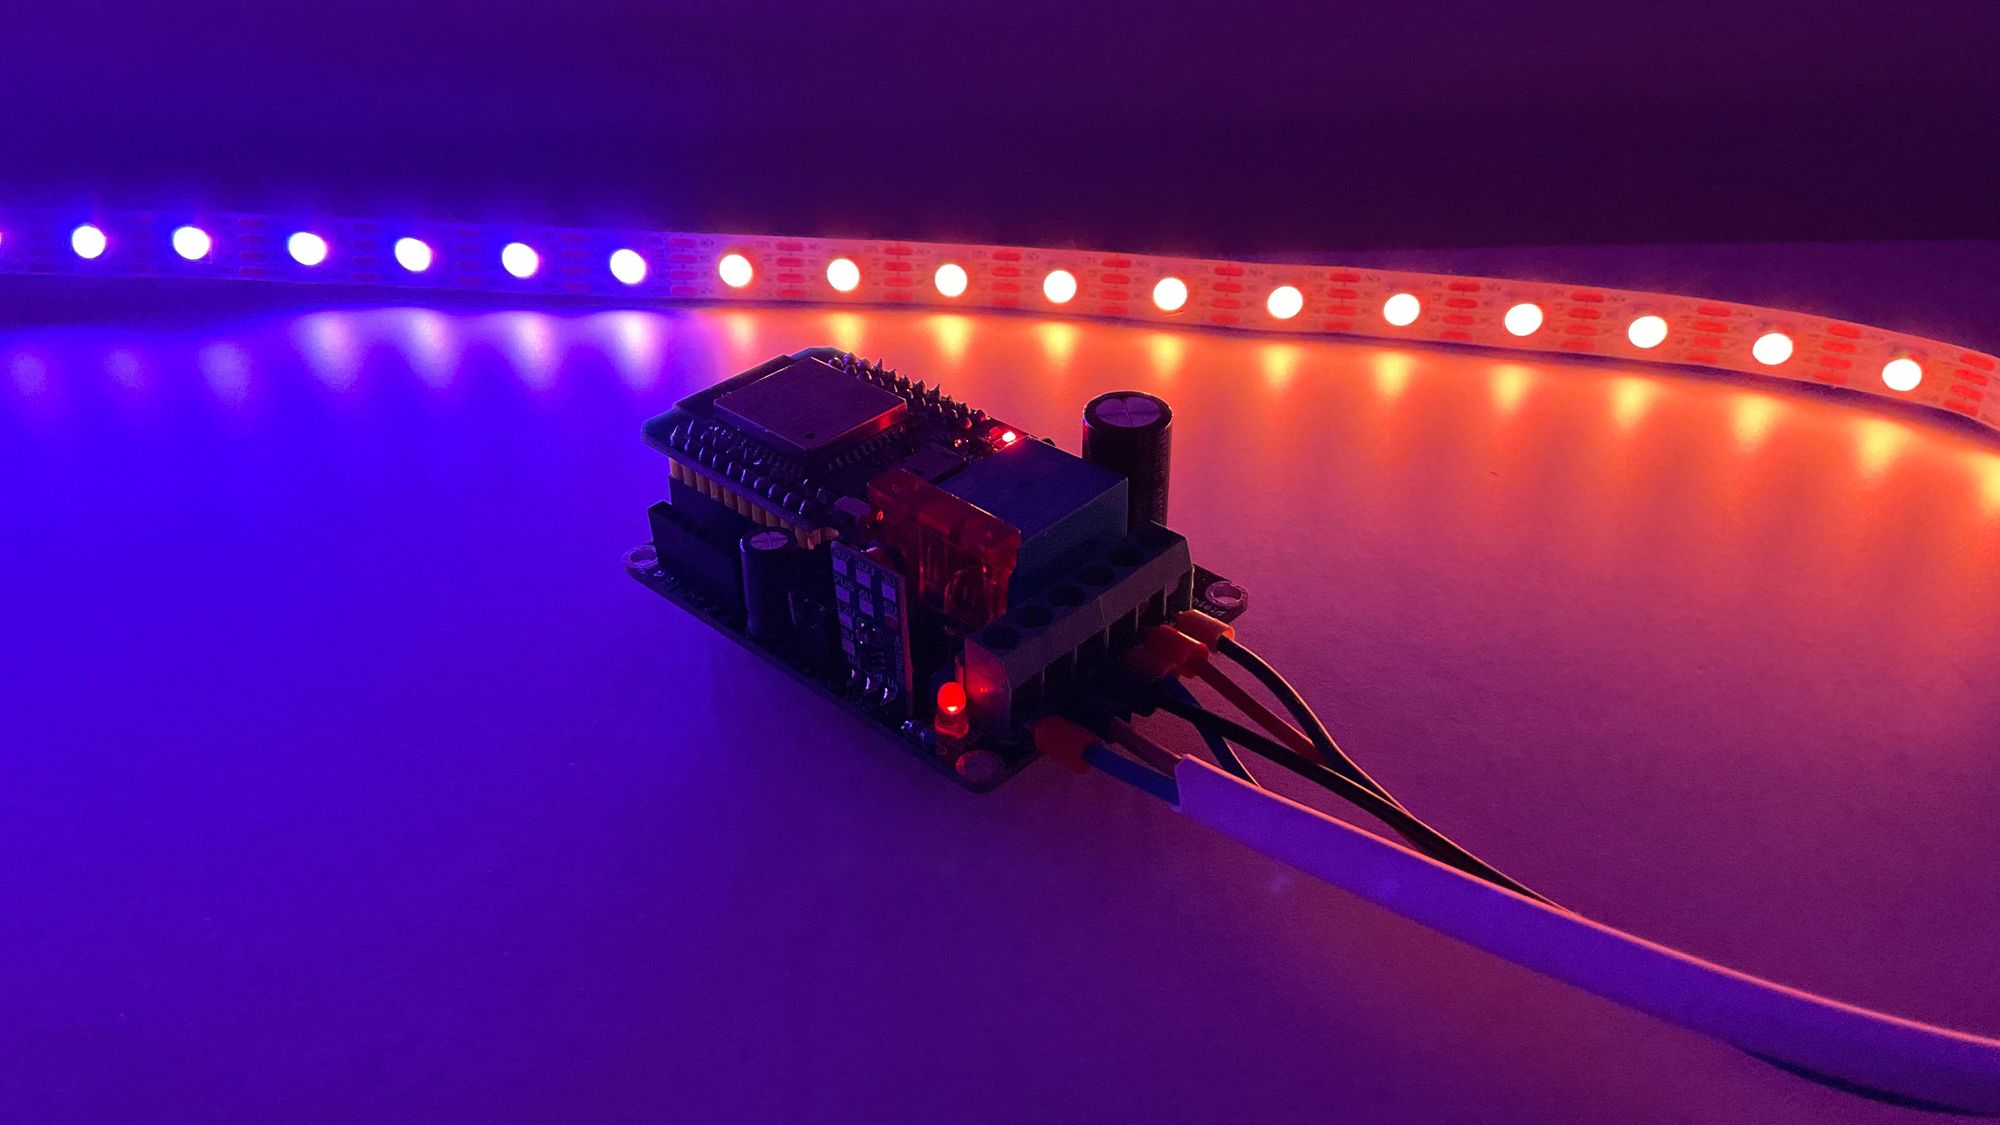
The majority of commercially available LED strips exhibit significant limitations regarding customization. These constraints are particularly pronounced in budget LED strips, which often present several issues:
- Inadequate Power Supply: The power supply is frequently omitted, necessitating the user to provide a USB charger. When included, the power supply is often undersized.
- Low Supply Voltage: Most LED strips operate at a 5V supply voltage, resulting in noticeable voltage drops and dimming over longer distances.
- Low LED Density: Typically, these strips feature a low LED density of 30 LEDs per meter.
- Limited Control Options: Control mechanisms are usually restricted to Bluetooth applications or infrared remotes, both of which lack flexibility and are difficult to customize.
Given these limitations, I opted to design and construct my own custom LED strip system. This approach allowed me to select a suitable power supply (12V, 300W), high-quality LEDs (WS2815ECO), and a fully customizable controller (ESP32 running WLED firmware).
Strip & Power Supply
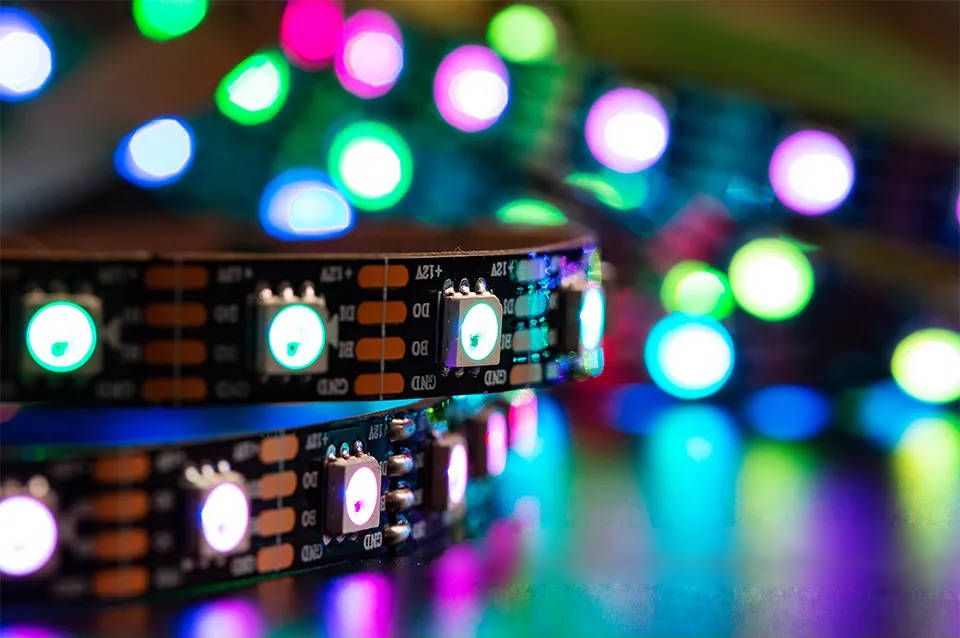
For the LEDs, I selected the WS2815ECO model, which are individually addressable RGB LEDs lacking a dedicated white channel. Opting for a density of 60 LEDs/meter, I effectively doubled the LED count compared to standard budget strips. Although a density of 144 LEDs/meter would have been ideal, it is not available for 5-meter strips. Regarding the Ingress Protection (IP) rating, I chose the lowest rating (IP30) as the strip indoor.
- LED Strip (WS2815ECO White PCB, 5m 60 IP30): aliexpress.com/item/32961181562.html (25.75 €)
The LEDs i chose require 12V to operate. To size the power supply, refer to the following measurements:

In my specific setup (12V spreadsheet, first column: WS2815, 300 LEDs), the maximum power consumption is measured at around 50W. Given the negligible price difference between a 60W and a 300W power supply, I opted for the 300W unit. This choice affords the flexibility to power up to six LED strips simultaneously from a single power source.
- LED Power Supply (12V, 300W): aliexpress.com/item/4001260747482.html (16.68 €)
Controller
Hardware
For the initial prototype, as the controller I used a D1 Mini ESP32 microcontroller flashed with WLED. By connecting an output pin of the development board to one of the two data pins of the LED strip, supplying power to the strip from the 12V power source, and sharing a common ground between the microcontroller and the LED strip, I was able to test WLED's capabilities. However, this straightforward setup presented several issues:
- Separate Power Requirements: The microcontroller necessitates an independent power source, requiring either a USB charger or a DC-DC step-down transformer.
- Inability to Completely Power Off LEDs: There is no mechanism to cut power to the LEDs. Even when the LEDs are not emitting light, they remain powered by the power supply, dissipating energy. Measurements present in the spreadsheet linked above indicated an idle power consumption of 10W, comparable to a typical LED light bulb.
- Lack of Overload/Overcurrent Protection.
- Limited Control Options: Control is limited to the software; there is no support for an infrared remote.
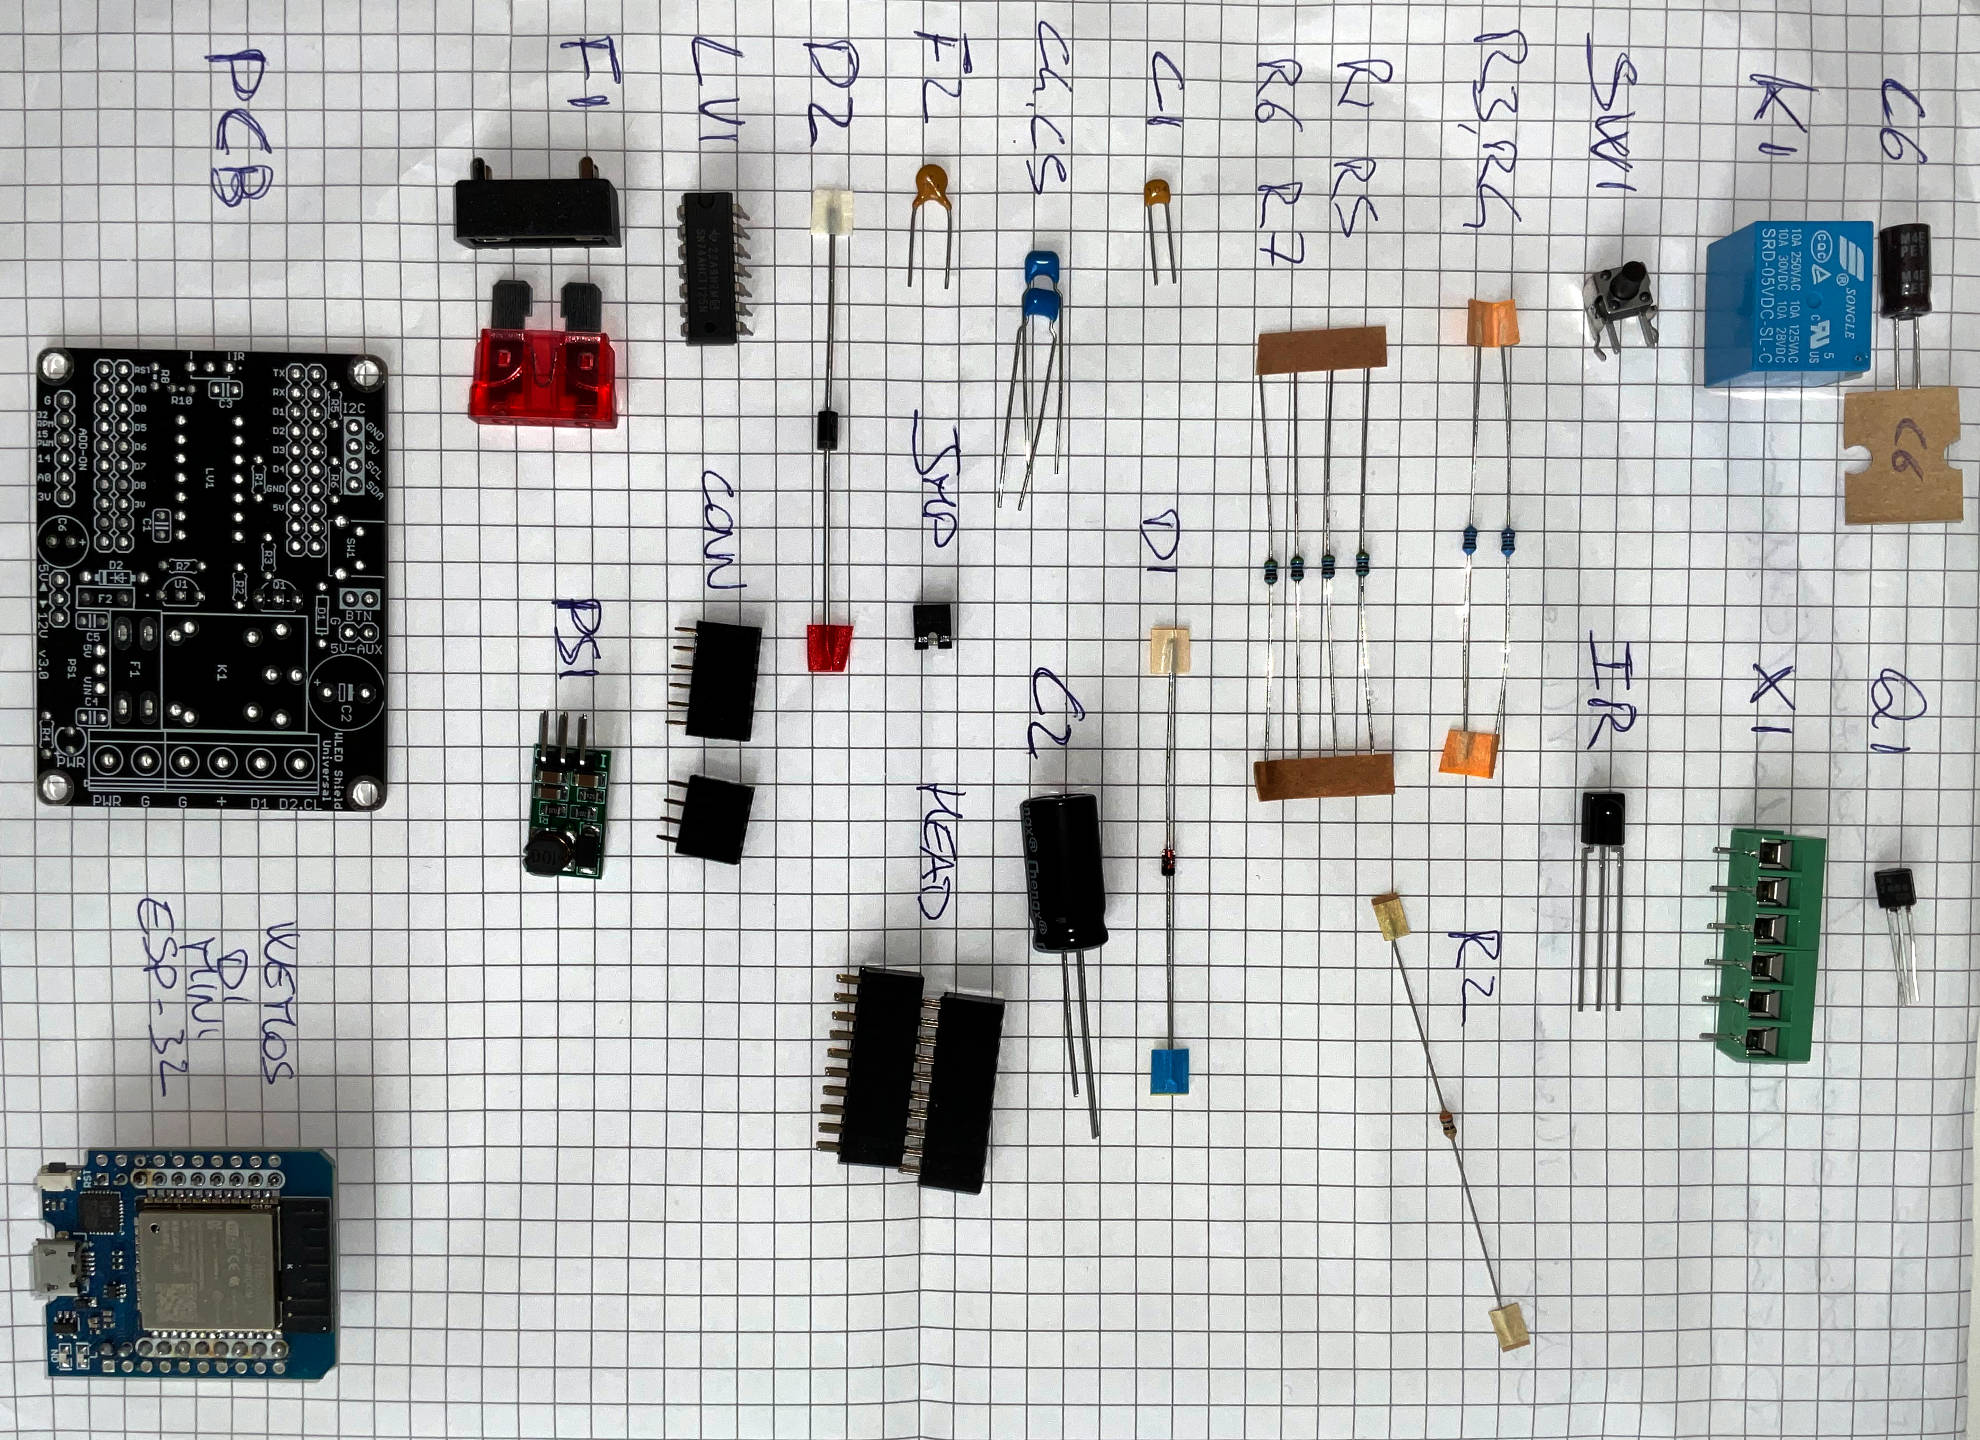
To address these flaws, I decided to build a dedicated controller. I selected a PCB based on the Wemos D1 Mini development board:
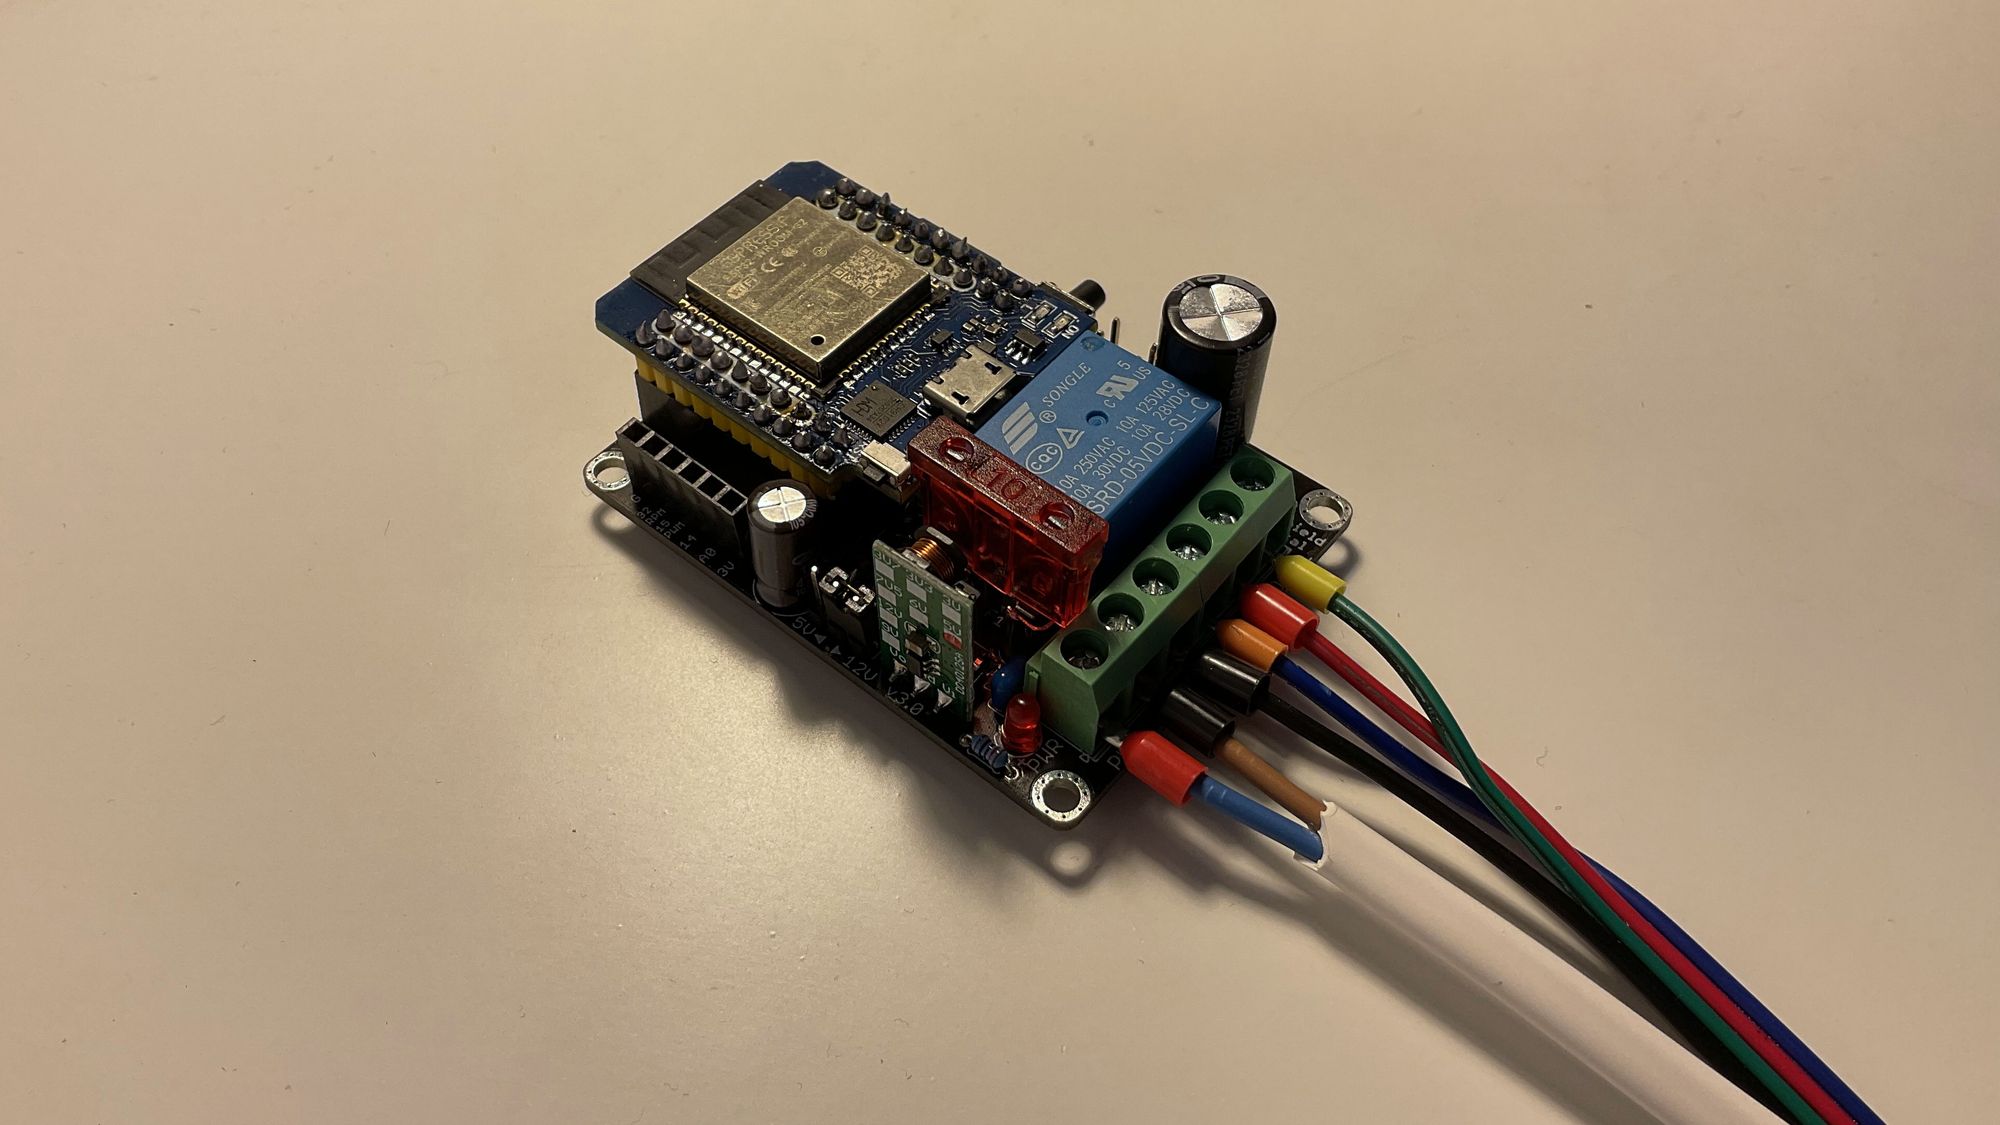
The custom shield addresses the previously identified issues:
- Integrated Power Supply: It powers the microcontroller using the LED strip’s power supply and a DC-DC step-down converter, eliminating the need for an external power source.
- Relay-Controlled Power: The shield incorporates a relay to cut power to the strip, preventing unnecessary power dissipation when the LEDs are off.
- Fuse Protection: A fuse is added to protect against overload and overcurrent conditions.
- Infrared Remote Support: It also includes the capability to use an IR remote for LED control.
Detailed instructions for constructing the shield are available on the associated GitHub page. After consulting with the shield’s designer, I obtained the Gerber files and ordered 10 PCB copies from jlcpcb.com for €8.74. Subsequently, I procured most of the required components from lcsc.com, acquiring sufficient parts to assemble five units (~18€), considering the relatively high shipping costs (~13€). I bought other components from AliExpress: DD4012SA 5V, 10A Fuse and Small FuseHolder, D1 MINI ESP32.
Firmware
To control the LEDs, I've chosen WLED, a ESP webserver that interfaces with the most common types of LED chipsets. It has support for several light control interfaces: mobile application, web UI, JSON/HTTP API, MQTT, Home Assistant integration, programmable IR remote and more.

To install and configure WLED, follow the quick-start guide. On the GitHub page for the shield there are several builds that incorporate different usermods (user-made plugins to expand the functionality). For the moment I'm using the stock build provided from the WLED website.
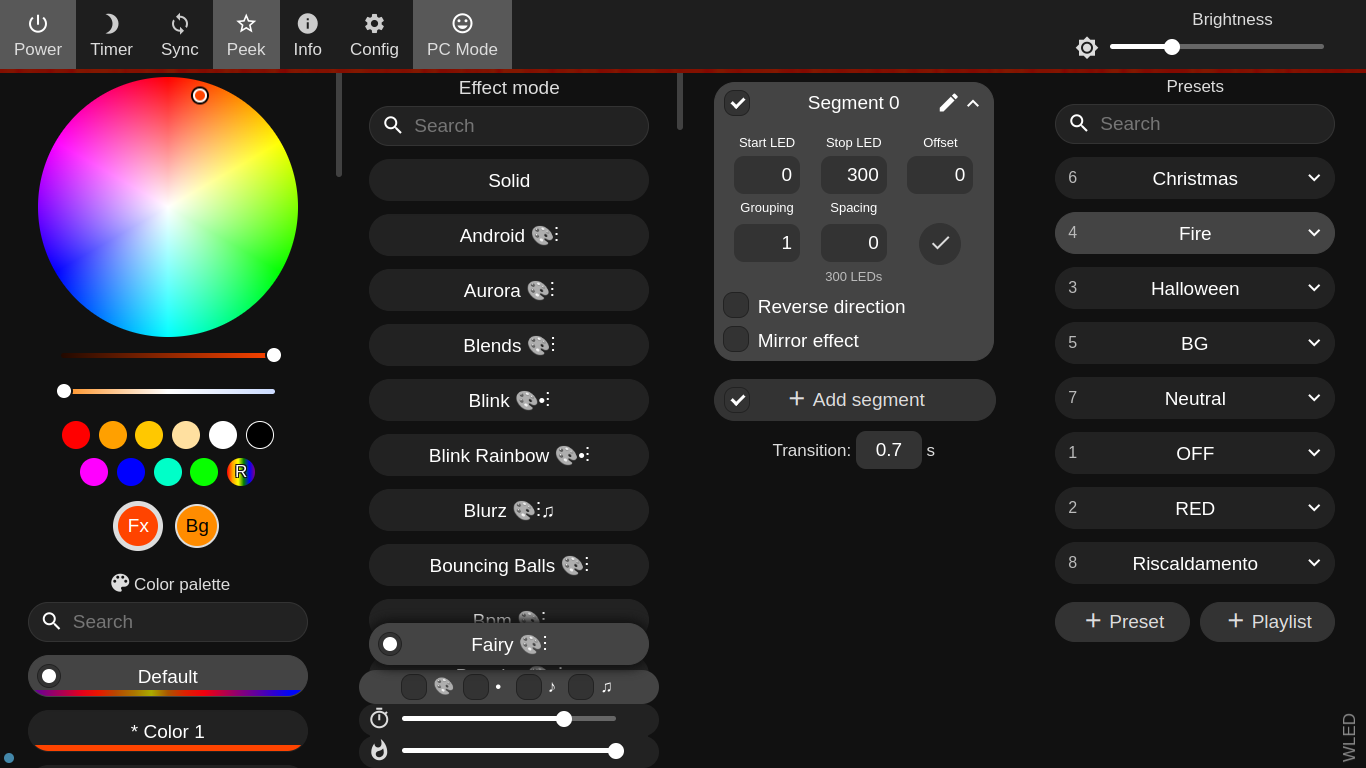
Controlling
WLED Interface
The main configuration and control interface is via the web server hosted on the ESP32. It's accessible on LAN at the IP address of the microcontroller. In the web page it's possible to configure the strip, the presets, color and more. Application are available for both Android and iOS.
API over HTTP
A JSON API is exposed over HTTP GET and POST requests. This is particularly useful in setting up simple local (LAN) automation for the smartphone, for example using Shortcuts on iOS or Tasker on Android.

IR Remote
The IR receiver I included in the shield allows to use any IR remote to control the strip. The configuration file can be edited with the builtin editor, available on http://192.168.123.123/edit. My own config file is appended at the end of the article. It associate each IR code (the hex values) with a command (the JSON API). My specific IR remote is this one: 20 buttons, UPD6122 chip, link.

HomeAssistant
Once integrated into HomeAssistant, the LED strip can be both remotely controlled and automated. For instance, NFC tags can be created and scanned to quickly load frequently used presets, or the LED strip can be configured to activate based on the state changes of other HomeAssistant-enabled devices, for example flashing red when the heating system is turned on. Moreover, the IR remote can also be used to interact with HomeAssistant: buttons 8 and 9 are mapped to two empty presets ({"seg":[{}]}), labeled as HA Trigger 1 and HA Trigger 2. These presets are designed to trigger further automations within HomeAssistant, such as turning on the heating or activating a fan. When modifying the preset names in WLED, ensure to reload the device in HomeAssistant and update the corresponding scripts and automations accordingly.
Resources
ir.json file to map remote codes to API commands:
{
  "remote": "20-key-generic",
  "0xFFA25D": {
    "label": "Off",
    "pos": "1x1",
    "cmd": {"ps": 1}
  },
  "0xFFE21D": {
    "label": "NightLight & Red",
    "pos": "1x3",
    "cmd": {"ps": 2, "nl": {"on": true}}
  },
  "0xFF22DD": {
    "label": "Test",
    "pos": "2x1",
    "cmd": {"bri": 42}
  },
  "0xFF02FD": {
    "label": "Bright+",
    "pos": "2x2",
    "cmd": "!incBrightness"
  },
  "0xFFC23D": {
    "label": "Back",
    "pos": "2x3",
    "cmnt": "NightLight Only",
    "cmd": {"nl": {"on": true}}
  },
  "0xFFE01F": {
    "label": "Preset <",
    "pos": "3x1",
    "cmd": {"ps": "2~7~"}
  },
  "0xFFA857": {
    "label": "Play",
    "pos": "3x2",
    "cmd": ""
  },
  "0xFF906F": {
    "label": "Preset >",
    "pos": "3x3",
    "cmd": {"ps": "2~7~"}
  },
  "0xFF6897": {
    "label": "0",
    "pos": "4x1",
    "cmd": {"on": false}
  },
  "0xFF9867": {
    "label": "Bright-",
    "pos": "4x2",
    "cmd": "!decBrightness"
  },
  "0xFFB04F": {
    "label": "C",
    "pos": "4x3",
    "cmd": {"nl": {"on": false}}
  },
  "0xFF30CF": {
    "label": "1",
    "pos": "5x1",
    "cmd": {"ps": 1}
  },
  "0xFF18E7": {
    "label": "2",
    "pos": "5x2",
    "cmd": {"ps": 2}
  },
  "0xFF7A85": {
    "label": "3",
    "pos": "5x3",
    "cmd": {"ps": 3}
  },
  "0xFF10EF": {
    "label": "4",
    "pos": "6x1",
    "cmd": {"ps": 4}
  },
  "0xFF38C7": {
    "label": "5",
    "pos": "6x2",
    "cmd": {"ps": 5}
  },
  "0xFF5AA5": {
    "label": "6",
    "pos": "6x3",
    "cmd": {"ps": 6}
  },
  "0xFF42BD": {
    "label": "7",
    "pos": "7x1",
    "cmd": {"ps": 7}
  },
  "0xFF4AB5": {
    "label": "8 — HA Trigger 1",
    "pos": "7x2",
    "cmd": {"ps": 8}
  },
  "0xFF52AD": {
    "label": "9 — HA Trigger 2",
    "pos": "7x3",
    "cmd": {"ps": 9}
  }
}

